Recipe
2 & 1/2 square card blanks
Strip of white cardstock cut off from a 12 x 12 sheet
2 sheets of A5 paper
2 sheets of A5 paper
1 6x6 square of coloured Cardstock
1 image
1 Sentiment
Attach 2 card blanks together 2 create 3 panels, trim corners off each outer panel
Use the trimmed off triangle to cut 2 triangles from patterned paper
Trim off 5mm from the longest edge of both triangles.
Attach to outer panels as shown, leaving a white border all the way around. Wrap the two outside edges over each other to create a criss cross pocket.
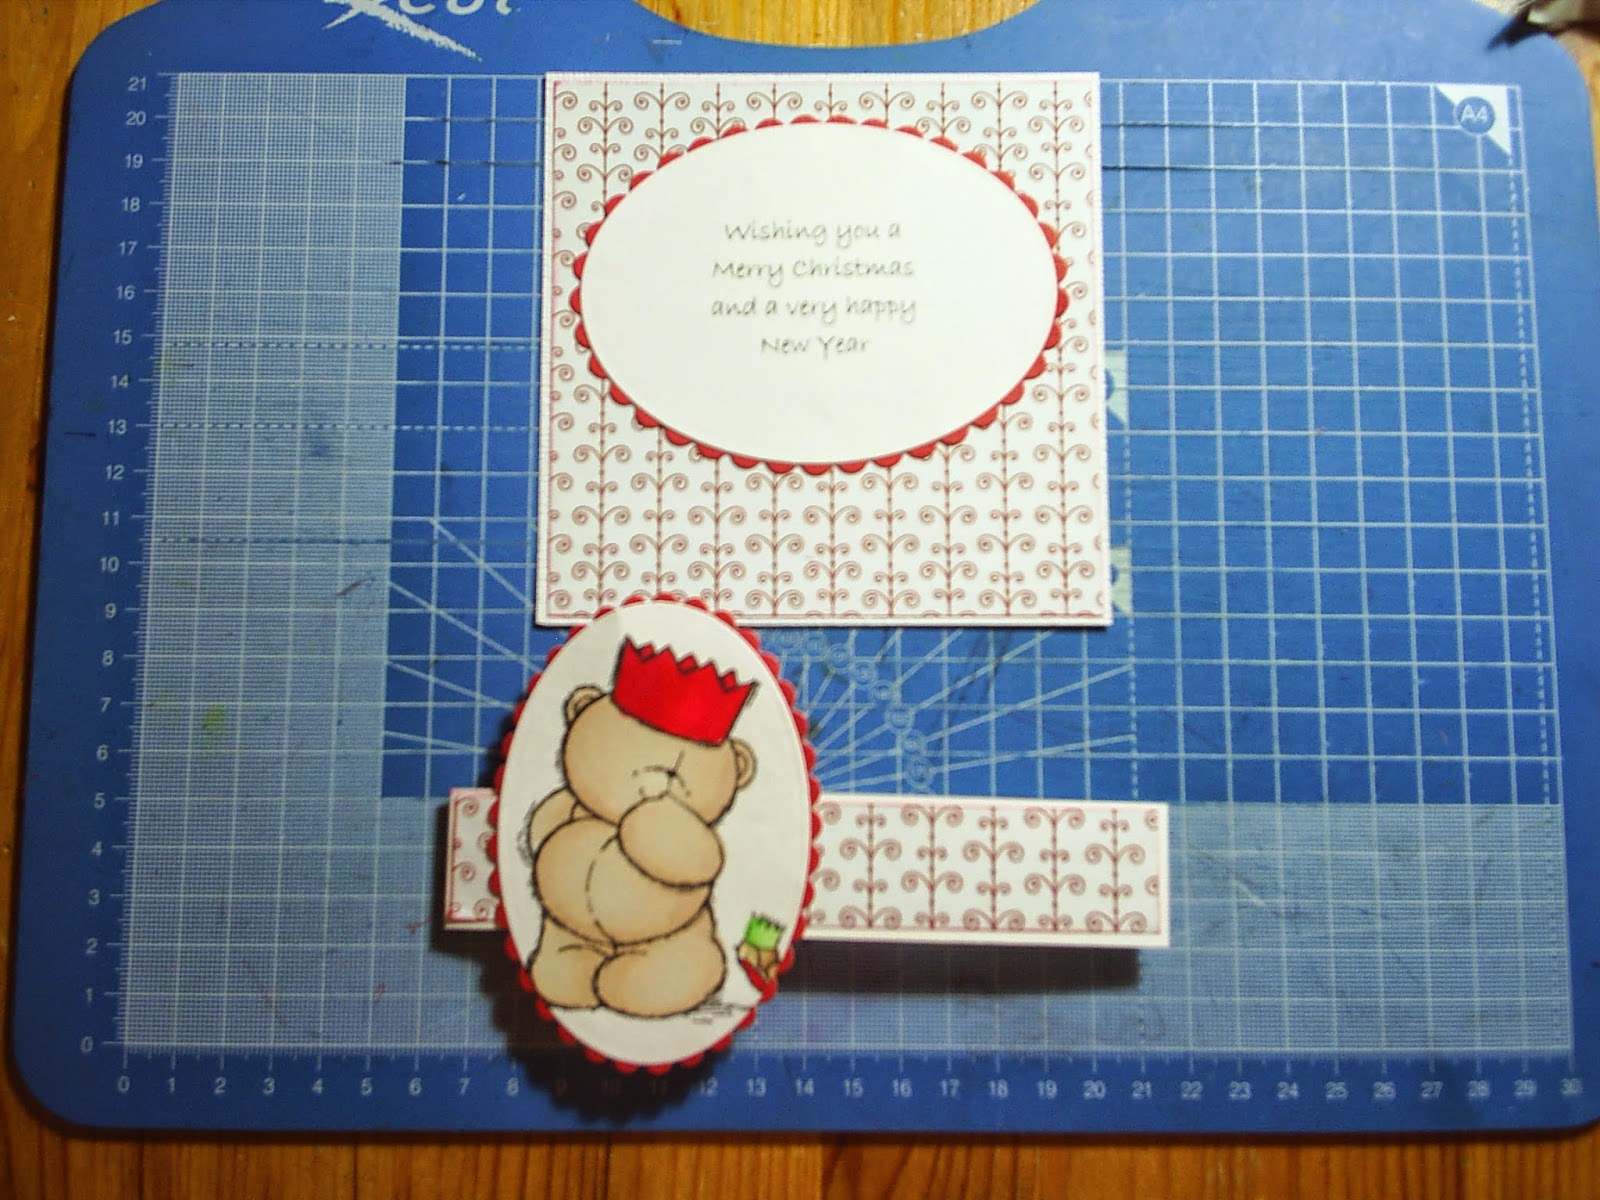
Attach the strip of patterned paper to the cardstock band, leaving a white border all the way around.
Colour your image and using a Die Cutter and oval nesties, cut the image out. Do this for the sentiment also. From the coloured cardstock, cut 2 scalloped ovals.


No comments:
Post a Comment